Welcome To Our Little Big House On The Prairie


Tuesday, September 27, 2011

A Little Repurposing Goes A Long Way

I have to admit that I have flip-flopped back and forth between the kinds of decor I want for our home.  I love so many different styles, but have a very limited budget.

Self-Employment + This Economy = Not Good.

I guess you could call the one I've settled on:  Nantucket-Cottage-Junk-Prim.  I'm just going to blaze my own trail, since I can't settle on just one thing.  So what if I'm a tad schizophrenic in my decorating?  :P

One blog in particular, keeps calling my name.  I am forever oohing and aahing over her fantastic repurposes.  She makes it look so effortlessly awesome.  And with four rough and tumble boys, this style totally works for me.  If you haven't checked out Funky Junk Interiors you really should!  I always keep a tissue handy to wipe the drool off my chin while I'm reading her blog!

Donna (who is really super nice by the way) has really inspired me to think outside the box and look at things that I find or just have laying around in a new way.  My favorite thing about this style is that you don't have to go broke achieving it - which makes the hubs REALLY happy (even if he does sometime shake his head over the things I lug into the house).

Unfortunately, I forgot to take a before picture of the east wall of the office before I got started.  I'm sure you imaginative types can easily picture a large swivel rocker shoved in the corner with 3 lighthouse pictures hung like    +     +     +  on the wall above it.
                                                                                                                                                                                                                                      
Can we say B-O-R-I-N-G?

On Sunday, I lugged home an old ladder that has been leaning up against the barn at my in-law's for at least two years, if not longer.  Hasn't moved an inch since it was put there.  The hubs outright laughed at me, as he watched me open the back hatch of our Yukon and shove it in.  I just told him, "You have no clue what you can do with a ladder!"

It really wasn't much to look at.  Beginning to dry rot a little. . . But it met two of my requirements:  1)  It was old.  2) It was a ladder.  I'm pretty picky aren't I?  Seriously though, I really, really, REALLY wanted an old ladder.


And what's hilarious is, it still had the price tag on it!  LOL!  $4.00. Not bad, Dad.  Not bad.

So today, I set about painting it, to give it a little oomph.  It turned out deliciously shabby.

Out with the swivel rocker and pictures, in with the shabby ladder.  But it just didn't look right all by itself.  That wall really isn't all that big, and I haven't come across any tables to refurbish that would work there.

After staring at the wall for a while, I went outside to see what else we had stashed around the old acreage here that I could possibly repurpose to fill up that wall.

I found:  1)  A metal cow tank.  2)  Half of an old barn door.  Yee-Haw!  Now we're in business.

So, I cleaned up the cow tank, which after sitting in our pump house for four years was really, really gross.  We bought it when we hosted our house-warming party after we bought this big monstrosity.  We filled it with ice and then stuck beer and pop in it to keep them cold, so it really wasn't as beat up as one would think. Then I lugged the door up from the barn.  It was H-E-A-V-Y!  (They just don't make things like they used to.)  And I cleaned that up too.

First I tried laying the door on top of the cow tank to make a table, which would have been really cute and totally something that Donna would do.  Didn't work.  Too big.  DARN!  I glared stared at them both for a while because I knew I was onto something, but what something was the question.

After a bunch of noodling, rearranging, and then checking things out from all angles, this is what I managed to come up with:


I have to say that I love it!  LUH-OVE!  Totally different.  I mean, when do you walk into someone's house and see a COW TANK turned TABLE.  Hah!  Neh-ver!

So, let me tell you about a few of the other items in this picture...

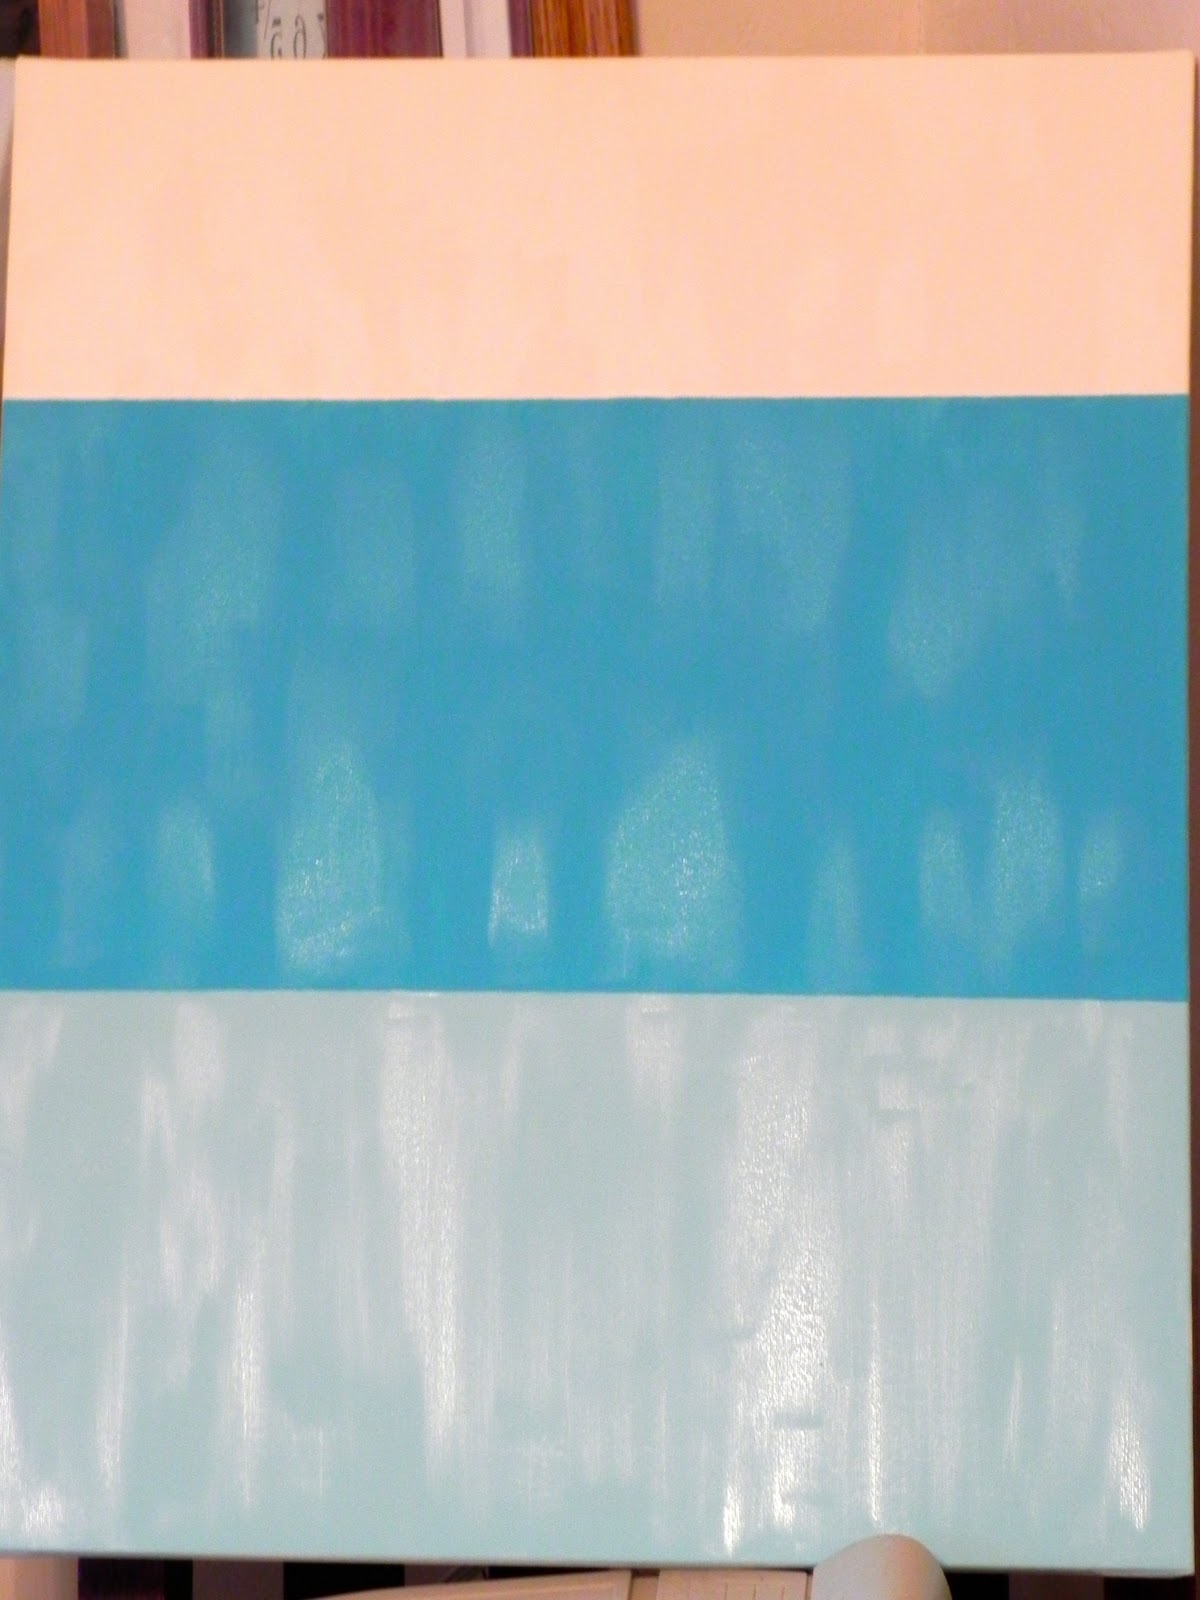
The ladder I painted with Dutch Boy Chalkboard White on the exterior.  For the interior of the frame, I painted the Jamaican Sky that I used in my Calm. Wall Art.

In the bottom left-hand corner of the picture, you'll see a big black object sitting on the floor.  That's an antique ship's compass.  It actually works and the compass itself is suspended within the iron frame, so its like it floats.  This particular piece is very, very special to me.  After my Dad died, I was the first person to make it to Virginia Beach and into his home.  Dad loved to buy antique marine items and was always picking up different pieces of flotsam.  Evidently, he had just bought the compass because it was the first thing I laid eyes on when I walked through the back door.  It was sitting on the kitchen table.  My Dad was lost at sea off the coast of Delaware in February 2007.  He was a ship's pilot.  Every time I look at that compass, I can clearly see it sitting on the kitchen table right where he left it, waiting for him to come home.


 The star on top was one of the ones that I spruced up with a little spray paint turning it from Americana to Shabby Chic.  The little sign came from my favorite store, "Country Collections" in Dumont, Iowa.  Believe it or not, I bought it during my 2008 trip there.  Loooooong time ago, peeps.  The shell came from a visit to the coast a few years ago.


Now, this sweet little dealy was hiding in my in-law's old summer kitchen.  Yes, they (or most likely the people that owned the farm before them) had a summer kitchen, which is a separate building that they used to cook in during the hot season.  There is actually two old stoves in there, but unfortunately, I think they're past redemption.  I found this old wooden box sitting on top of one of the stoves covered in various (what I think was) tractor parts.  WOO-HOO!  SCORE!  I literally did a double take when I saw the edge of it peeking out at me.  It was covered in cobwebs and what I think was bat droppings, but she cleaned up really nice, didn't she?

The metal basket was down in our basement when we moved in here.  Don't you love those lucky finds?


All in all, I'm really loving this new addition to my office.  The basket holds phone books and my Bible, plus a little jelly jar with pens and various other little things in it.  And since the diva and the little man keep using up all my printer paper for drawing, I stashed some under the basket to keep it safe from their crayons and colored pencils.  :)

Currently, I'm on the look out for a sweet little desk that I can refinish.  Once I find that, the west wall will be done and since the north wall is pretty much windows, I'll be satisfied until we can paint.  The top of the room is sporting this hideous blue and pink country heart border.  YUCK.

Until I can find the perfect desk, I'm using a small antique desk that was my parent's, but I need something with more than one small drawer and what I'm assuming is an arm rest that slides out from underneath.  I believe it was a desk for the lady of the house to write letters.  Its very small and extremely feminine.  Doesn't work well for an iMac at all.  ;)

Here's another look at what is becoming one of my favorite spaces.  The south wall has more light green in it, so I've got to fill the ladder with some things that combine the blue and green, but so far so good.  If anyone sees anything on Etsy or Ebay that would work, shoot me an e-mail.  Seriously!

I don't know that I'll use this particular style in the rest of the house, but since this is the room where I spend a lot of time, I feel it should reflect who I am.  And so far, its looking pretty darn good!


Monday, September 26, 2011

Reclaimed Barnwood Sign & Tutorial

Live Simply.  A great motto to live by.  And also the wording I decided to use on a piece of old barnwood I reclaimed from the hub's parents' farm.


I'm pretty sure his Dad had used it at one point to clean fish, since there were scales on the backside.  Yum!  But not a deterrent to me!  I just bleached it really good before I got to work.

This is what I started with:


First I gave it a coat of Chalkboard White by Dutch Boy Paint.  I love how it really made the grain pop.


Then I sanded the heck out of it with steel wool, which is now my new fave to rough up a surface...  Cheap and it works!


And then I cut some burlap, centered it, and hot glued it into place:


I had these starfish laying around that I bought a few years ago when I was back in Virginia Beach, so I decided to glue those down too. . .


Next, because I'm severely straight line challenged, I marked off where the stencil would go.  Seriously, if I tried to just eyeball it, it would turn out looking like this:
                                                      L
                                       i
                                      v
                                        e
                                 S
                                  i                        
                                   m
                                    p
                                     l
                                       y        .

No kidding.

So, if I have to deal with a tiny barely noticeable line on most of my homemade stuff, no biggie.  I'd rather have that than a crooked word.

And since I really, really don't like stencil paper, I decided to make my stencil from regular old printer paper.  Guess what?  Worked like a charm for a fraction of the cost.


After tracing on the words, I filled in the letters with black paint by first dabbing on the outline and then filling it in.  With burlap, you can't smooth the paint on because it catches, so you just dab it on like so. . .


And then you're done.  YIPPEE!


Doesn't it just remind you to take a deep breath, even amid all the hustle and bustle of life?


Live Simply.  A reminder to not let the frantic pace of life consume you.


And a little taste of summer, all year through.  (Although I'm really out of step with the rest of blogland, who have all moved onto fall decor.  A little secret. . .  I really don't care too much for fall or halloween decor.  I mean, I like it - just not in my house.  Love the season, just not the traditional decor.  Now Christmas?  Whole 'nother story.)


One of my favorite things in my house.  I got this potpourri shell from TJ Maxx last summer.

  
Now, all I have to do is figure out what to do with it.

Take care!

I've linked this project up to:

Lil' Luna - All Things Good


Calm. DIY Wall Art

Last week, I came across this inspiring wall art via Pinterest. . .


Sigh. is right!

Love the colors.  And the simplicity of the design and the message just make me take a deep breath and relax.  So, I decided I would attempt to copy this awesomeness myself and then put my own spin on it.

The first thing I did was get all my materials:

1)  22" x 28" Canvas  $6.99 on sale at Hobby Lobby
2)  Blank Stencils $3.99
3)  Acrylic Paint in Vintage White, Jamaican Sea, Calypso Sky, and Barn Wood.  $0.98 each on sale at Hobby Lobby
4)  Craft paint brushes (Already owned.)
5)  Exacto Knife (Already owned.)
6)  Painter's Tape (Already owned.)
7)  Pencil
8)  Tape Measure


Then I measured out where I wanted each section to end and taped it with the painter's tape.


Then I applied the Vintage White acrylic paint to the first section, brushing away from the tape to prevent seepage as she advised.


Before I got started, I decided what size and font I wanted to use for the stencil.  I chose Size 270 Georgia.  I decided to use the word "Calm" because that's how those colors make me feel.  While I waited for the paint to dry, I flipped the paper over and traced the letters.


Then I traced it onto the stencil.


And cursed grumbled the whole time I was cutting it out with the Exacto knife because I pretty much suck at using it.  I can never get crisp lines, no matter how hard I try!  I was NOT calm.  I was extremely frustrated and had to walk away from it a couple of times.  LOL!

Note to Self:  Shaky hands from 3 cups of coffee doesn't help either.


Thankfully, I wasn't planning on actually stenciling it on, I'm just wanted to trace it.  So, a crappy cut-out isn't all that big of a deal.  I like the look of hand-painted signs, but I'm not that great at the lettering, so this is how I get around it.

Then really quick before I had to take Noah to his football game, I put on the middle color - Calypso Sky, and let it dry while I was gone.


For some reason, I did have some seepage with this color.  AGGRAVATING!  Why is it that you do the exact same thing and the first time it works and the second time it doesn't?  I put the tape on the same way.  Made sure I had a good seal.  Still got seepage.  Go figure.

Thankfully, it was an easy enough fix.  I just painted the Jamaican Sea by hand and carefully painted over it.


So, while I waited for it to dry (worst part of any DIY project), I began cooking dinner.  My bro-in-law had recently butchered a cow and sent some hamburger home with us.  Seriously.  He butchered it.  Himself.  He's got a neat little butcher set up on his farm and he does it all himself.  I'm sure if I had listened close enough, I probably could have still heard it mooing.  Gross, I know.  I don't particularly like to think about where our meat comes from - city girl that I am, meat comes from a grocery store.  Right?  But, my gosh!  There is nothing like fresh meat.  No preservatives.  Grain/Hay fed with no growth hormones.  Best cheeseburgers I've ever had!

Anyway. . .  Back to the project . . .  I'm super impatient, so I put a fan on it.  :)  It did take a couple of coats to be able to get complete coverage.  I probably should have used painter's acrylic paint, instead of a craft acrylic, but I couldn't justify $8.00 a tube for one project.  It worked though.

After the paint dried in half the time with the fan, I traced on the word.  Calm.


Then, I painted on the word in Barnwood.  I coated it on pretty thick with a small round tipped brush.  I wanted it to have some texture.


All in all, I'm pretty pleased with how it turned out. . .


I probably should have gone a little bigger with the font size, but I still think it looks pretty good. . .


My husband was pretty impressed that I was able to do it and was picking on me all afternoon.  "Who knew I had married an artiste?" with a fake french accent.  LOL!  I just rolled my eyes at him and kept painting.  He's even stopped giving me a hard time when I want some piece of junk or other from his parent's farm.  I cannot wait until this week's Friday's Finds.  You should see the stuff I've already scored and its just now Monday!  His parent's farm is a treasure trove of all things junk, since his Dad never throws anything away and I am finding some cool stuff, plus a couple of steals on Craigslist.  To.  Die.  For.

So anyway...

I hope your Monday is off to a good start.  Its a rainy day here in Iowa, so it doesn't look like I'll get a start on the buffet today.  :(  But, I've got a couple of things I can do indoors to keep me busy.  Starting with a weekend's worth of laundry.  Fun.  NOT.

But before I start that, I think I'm just going to sit here with my cup of joe and soak in the colors and the word.  I can only hope that the rest of my day is that way.  In the calm.  What a great place to be.


Friday, September 23, 2011

DIY... Barn Window Picture Display


Earlier today I talked about trying to figure out something to do with my grandmother's quilt that had basically fallen apart into rags.


I decided to go out to the barn and just see what I had out there that I could possibly do something with and came back inside with this stuff...


A old barn window and some chicken wire.

The barn window was in half-way decent shape.  The bottom of the window was beginning to dry rot, so I knew there was no way the hubs was going to use it to replace some of the windows on the backside of the barn.  Then I spotted a roll of chicken wire back from when we had chickens (Dogs and chickens don't mix!) .  

PERFECT!

The first thing I did was sweep the cobwebs and most of the dirt off with a broom.  Then I scraped paint that someone had haphazardly gotten on the window panes.


Next I used Chlorox Wipes, which is my Go-To for cleaning and some Windex to clean off about 50 years worth of dirt and grime.

Ewwwwww!

I even had to kill a spider that I must have missed with a broom.

(Yes, I did take time to take a picture before I squished it.  LOL)


Once I had the window as clean as it was going to get, I measured the window panes.  Each pane measure 9x12, so I cut four pieces of chicken wire a little bit bigger than that.  That stuff is a pain to work with!  Since the window panes were a little loose, I tucked the ends of the wire between the glass and wood and then added a small dab of glue with a hot glue gun to make sure it was secure. 


(Please excuse my lack of countertops.  Its backerboard until the hubs installs the tile.  Hopefully soon!)

 Then, just because the panes were really loose, I flipped the window over and used the glue like caulk to seal them in better...


Then I started ripping apart my grandma's quilt.  It was more difficult emotionally than I thought it would be.  I thought about how she cut each and every one of those squares of cloth.  I thought about how many hours she must have sat to sew all those stitches and how much love she put into each one.  I felt terrible ripping it all apart, even though I knew the quilt was in bad shape by the time it came into my possession.


From the strips of fabric I ripped from the quilt, I made fabric rosettes that I attached to the frame.


Then, using iMac Pages, I created and added a little sign:


After adding a few pictures I printed off, here's the final result:


And with this addition, one wall in my office is finally coming together...


And better yet, I spent absolutely NADA!  And that makes the hubs really happy!  :)


I linked up to:

Tater Tots and Jello Weekend Wrap Up Party Pick Your Plum Giveaway

Chic on a Shoestring Decorating


Funky Junk Interiors


Lil' Luna - All Things Good