
Earlier today I talked about trying to figure out something to do with my grandmother's quilt that had basically fallen apart into rags.

I decided to go out to the barn and just see what I had out there that I could possibly do something with and came back inside with this stuff...

A old barn window and some chicken wire.
The barn window was in half-way decent shape. The bottom of the window was beginning to dry rot, so I knew there was no way the hubs was going to use it to replace some of the windows on the backside of the barn. Then I spotted a roll of chicken wire back from when we had chickens (Dogs and chickens don't mix!) .
PERFECT!
The first thing I did was sweep the cobwebs and most of the dirt off with a broom. Then I scraped paint that someone had haphazardly gotten on the window panes.

Next I used Chlorox Wipes, which is my Go-To for cleaning and some Windex to clean off about 50 years worth of dirt and grime.

Ewwwwww!
I even had to kill a spider that I must have missed with a broom.

(Yes, I did take time to take a picture before I squished it. LOL)

Once I had the window as clean as it was going to get, I measured the window panes. Each pane measure 9x12, so I cut four pieces of chicken wire a little bit bigger than that. That stuff is a pain to work with! Since the window panes were a little loose, I tucked the ends of the wire between the glass and wood and then added a small dab of glue with a hot glue gun to make sure it was secure.


(Please excuse my lack of countertops. Its backerboard until the hubs installs the tile. Hopefully soon!)
Then, just because the panes were really loose, I flipped the window over and used the glue like caulk to seal them in better...

Then I started ripping apart my grandma's quilt. It was more difficult emotionally than I thought it would be. I thought about how she cut each and every one of those squares of cloth. I thought about how many hours she must have sat to sew all those stitches and how much love she put into each one. I felt terrible ripping it all apart, even though I knew the quilt was in bad shape by the time it came into my possession.

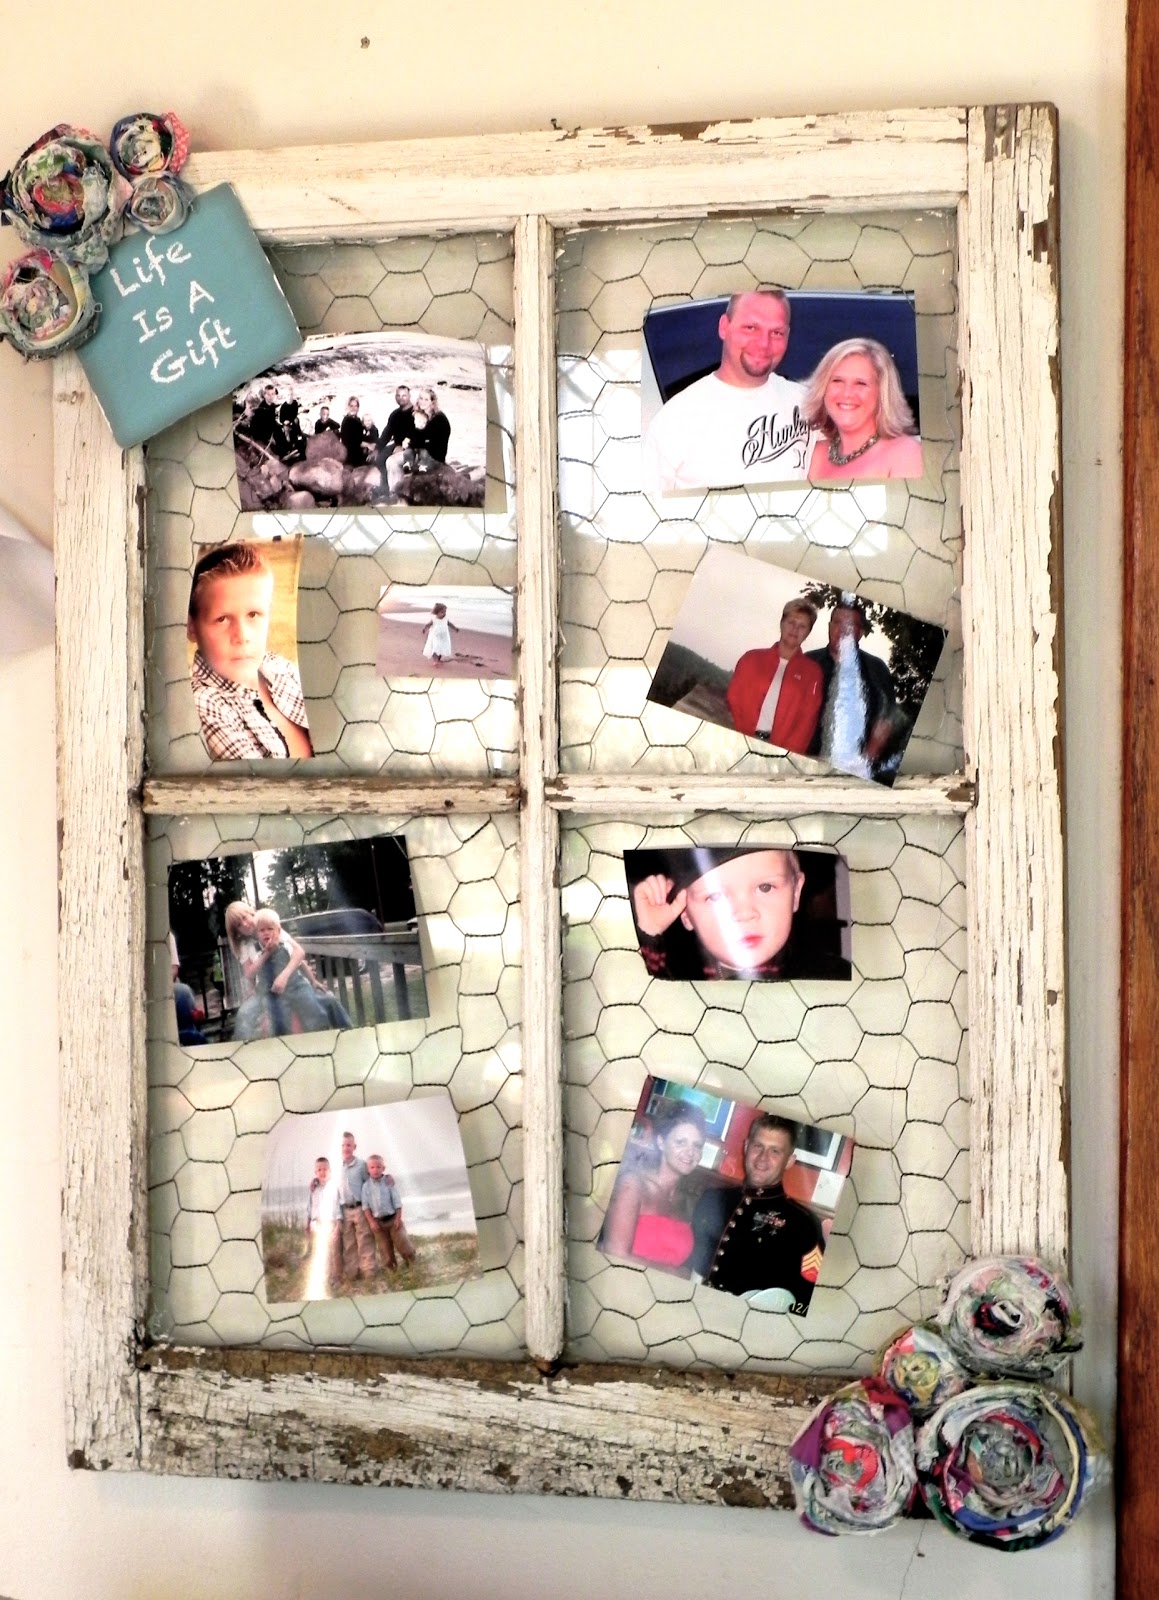
From the strips of fabric I ripped from the quilt, I made fabric rosettes that I attached to the frame.

Then, using iMac Pages, I created and added a little sign:

After adding a few pictures I printed off, here's the final result:

And with this addition, one wall in my office is finally coming together...

And better yet, I spent absolutely NADA! And that makes the hubs really happy! :)
I linked up to:
Tater Tots and Jello Weekend Wrap Up Party Pick Your Plum Giveaway
Chic on a Shoestring Decorating
Funky Junk Interiors
Lil' Luna - All Things Good